Inbound Webhooks facilitate effortless integration with CRM systems, empowering external systems to autonomously transmit data through different HTTP request methods such as GET, POST, and PUT. This feature of real-time data exchange significantly boosts CRM capabilities and optimizes workflows, thereby enabling efficient communication and collaboration across diverse platforms and tools.
An Inbound Webhook is a powerful tool that enables automated data transmission from external systems to your CRM, thereby enhancing integration and interoperability. It works by sending an HTTP request (such as POST, GET, or PUT) to a designated URL in your CRM when an event occurs in an external system, which then triggers a specific workflow. This feature allows for real-time data exchange, augmenting the functionality of your CRM and making workflows more efficient across various platforms and tools.
Utilizing Inbound Webhooks, businesses can significantly automate their processes, reduce manual interventions, and decrease the likelihood of human errors, leading to improved efficiency and productivity. Moreover, this technology fosters better team collaboration, as crucial data is effortlessly shared and synchronized between different systems. The result is an enhancement in decision-making processes, customer satisfaction, and overall business performance.
Practical Applications of Inbound Webhooks:
Inbound Webhooks can be employed in numerous ways to bolster CRM functionality and automate workflows. Here are some practical applications:
- eCommerce Order Integration:
Imagine your online store updates your CRM with new order details as soon as a customer places an order. The CRM could receive this data via an Inbound Webhook from your eCommerce platform, containing information like customer name, email, contact number, and order value.
- Customer Support Ticketing System Integration:
If your business operates a separate support ticketing system, Inbound Webhooks can relay ticket information to your CRM, ensuring your support team has all essential details.
- Event Registration Integration:
For events managed through a registration platform, Inbound Webhooks can funnel attendee information directly to your CRM. This could include attendee names, emails, contact numbers, and event details.
- Lead Capture from Web Forms:
You can use Inbound Webhooks to capture lead information from web forms and send it to your CRM, allowing prompt follow-up by your sales team.
These scenarios illustrate how Inbound Webhooks can streamline processes and enhance CRM efficiency across various business contexts.
How to use the Inbound Webhook Workflow Trigger?
Briefly, bring your data to the system in 3 simple steps using the Inbound Webhook Trigger.

Step 1
Retrieve the webhook URL and use it in your application or system. Next, send the data to the webhook URL using the appropriate HTTP request method (POST, GET, or PUT) and click the "Test Trigger" button.

Step 2
Choose the data received from your application or system using the supported HTTP request method (POST, GET, or PUT) and save it as sample data for future reference. Click on "Load More" to view additional recent data. Once you've selected the desired data, save the trigger.
In this step, you can save the data reference for custom variables, which can be treated similarly to other contact custom fields or Location Custom Variables.
The next step and examples below provide more information on utilizing this reference.
Step 2.1: Send a supported HTTP request (POST, GET, or PUT) to the copied webhook URL and copy the ID in the response.

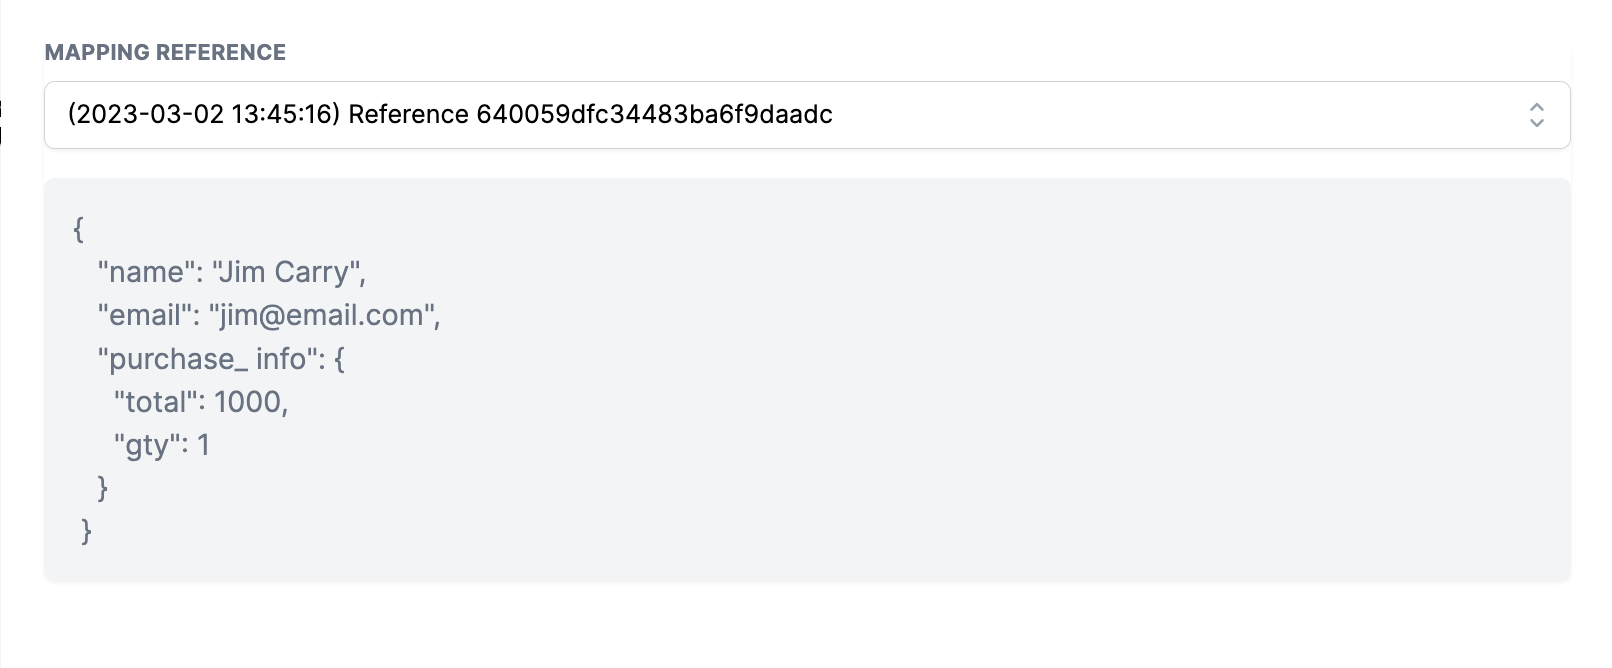
Step 2.2: Copy the unique ID obtained from the supported HTTP request (POST, GET, or PUT) and use it to search for the relevant mapping reference within your webhook trigger.
Please note that the most recent request will always be at the top of the list.
Step 2.3: Select the correct reference and verify the body.
Step 3
You will be directed to the "Create Update Contact" action after saving the trigger. From there, you can select the necessary fields and map the incoming data you received from the trigger. Please note that to create a new contact or map data to an existing one, you must provide either an email or phone field.

By completing the above steps, you can now use the data you received within the workflow as custom values in email, sms, if/else, etc.

Example:
The custom values of Inbound Webhook can be utilized in all of the actions within your workflow. Some examples of how to do this are provided below.
In your communication Actions:

In If/Else Actions:
As shown above, you can use the values from the Inbound Webhook inside all other actions as you see fit.
Was this article helpful?
That’s Great!
Thank you for your feedback
Sorry! We couldn't be helpful
Thank you for your feedback
Feedback sent
We appreciate your effort and will try to fix the article